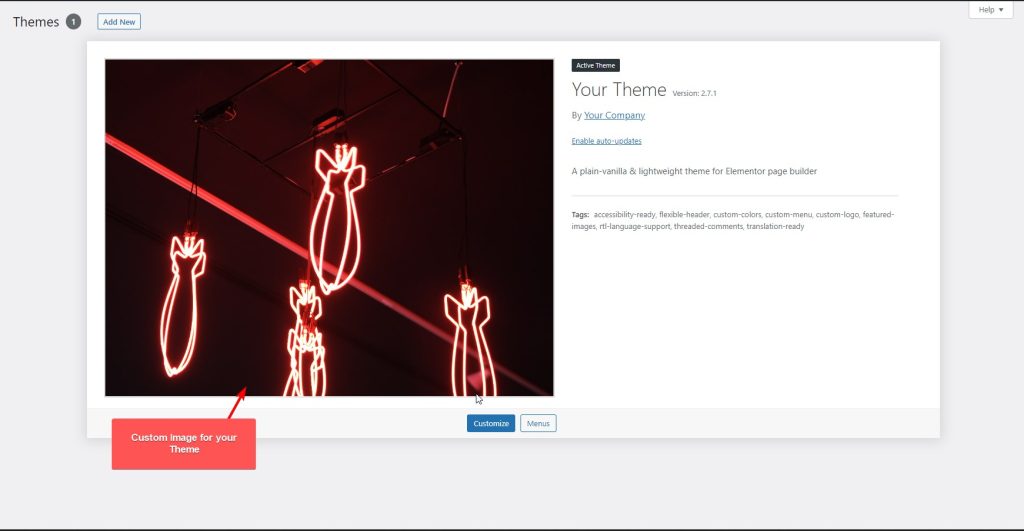
Changing the screenshot of a WordPress theme can be a great way to personalize your website and make it stand out. One way to do this is by using a child theme, which is a separate theme that inherits the functionality and styling of a parent theme.
By making changes to the child theme, you can customize your website without affecting the original parent theme. Using a child theme to change the theme screenshot in WordPress is a great way to add a personal touch to your website.

By following the steps outlined above, you can easily create a new screenshot image and replace the default one without affecting the original parent theme.
Table of Contents
Creating a WordPress Child Theme to Change Theme Image
When it comes to changing the theme screenshot in WordPress, creating a child theme is a recommended approach. A child theme inherits all the functionalities of its parent theme and allows you to make customizations without affecting the parent theme’s code.
Here’s how to create a WordPress child theme to change the theme image.
Set up a Child Theme from Parent Theme
Before creating a child theme, you need to have a parent theme installed on your WordPress site. If you don’t have one, you can download a free theme from the WordPress repository.
Once you have the parent theme installed, follow these steps to set up a child theme:
- Create a new folder in the wp-content/themes directory and give it a name that is different from the parent theme’s name.
- In the child theme folder, create a new file named style.css. This file will contain the child theme’s stylesheet.
- Open the style.css file and add the following code to define the child theme:
/*
 Theme Name:   My Child Theme
 Theme URI:    https://example.com/my-child-theme/
 Description:  My Child Theme
 Author:       John Doe
 Author URI:   https://example.com/
 Template:     parent-theme-folder-name
 Version:      1.0.0
 Text Domain:  my-child-theme
*/
Replace the values in the code with your own values. The Template value is the name of the parent theme’s folder.
- Save the style.css file.
Next, you need to enqueue the child theme’s stylesheet and any other scripts or styles that you want to add. To do this, add the following code to the child theme’s functions.php file:
function my_child_theme_enqueue_styles() {
    wp_enqueue_style( 'parent-style', get_template_directory_uri() . '/style.css' );
    wp_enqueue_style( 'child-style',
        get_stylesheet_directory_uri() . '/style.css',
        array( 'parent-style' )
    );
}
add_action( 'wp_enqueue_scripts', 'my_child_theme_enqueue_styles' );
The code above enqueues the parent theme’s stylesheet first and then the child theme’s stylesheet. The child theme’s stylesheet depends on the parent theme’s stylesheet, so it is added as a dependency.
You can also follow this video to see how to set this up.

With the child theme set up, you can now make any customizations you want to the child theme’s files without affecting the parent theme’s code.
If all these sound technical to you and you want to skip these, then you can directly install this Child Theme Configurator Plugin and simply get your Child Theme ready in a few clicks.
Are you Spending hours:
- Managing your WordPress website?
- Troubleshooting Technical difficulties?
- Dealing with plugin Security Issues?
- Website Uptime Monitoring?
- Cleaning Hacked Sites?
Let me take care of your WordPress website, so you can focus on scaling your agency.
Give your clients top-notch VPS Hosting for blazing fast performance, 24×7 security monitoring with autopilot safe plugin updates.
I will help you free up time by managing WordPress websites.
Designing the Theme Screenshot Image for Right Format Size
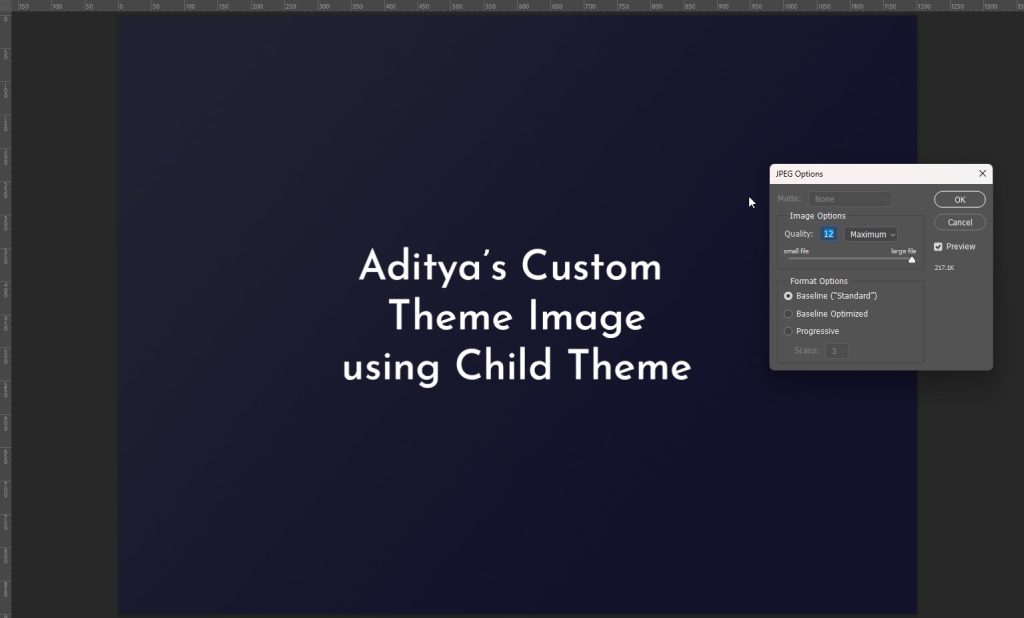
When designing the theme screenshot image, it is important to keep in mind the right format size. As per the current WordPress standards, the theme screenshot size should be 1200×900 pixels. The image should be crisp and clear in quality, and capture the essence of the theme.
Edit the Screenshot Image
To edit the screenshot image, one can use a photo editing tool such as Photoshop, Canva, or anything you’re comfortable using.
The following steps can be followed for Photoshop:

- Open the image in Photoshop.
- Check the resolution of the image. It should be at least 72 pixels per inch (ppi) for web use.
- Crop the image to the desired size of 1200×900 pixels.
- Resize the image if necessary. Make sure to maintain the aspect ratio to avoid distorting the image.
- Save the image as a JPEG or PNG format to maintain the quality.
And your image is not ready to go live
If you have a lot of images on your site, then you should ensure they are optimized for faster performance. Check out this blog, where I discussed how you can optimize images at bulk for free and within a few seconds.
Updating the Screenshot to Child WordPress Theme
Here are the steps to update the screenshot of a child theme in WordPress:
Uploading the Image Screenshot Designed
Next, navigate to the child theme folder in wp-content/themes/child-theme-folder and place the screenshot file in it.
Make sure to name the file “screenshot.png” to ensure that WordPress can recognize it.
Activate the Child Theme
Now that the screenshot is in place, it’s time to activate the child theme. This can be done by navigating to the “Appearance” section in the WordPress dashboard and selecting “Themes”. Find the child theme in the list and click “Activate”.
Once the child theme is activated, the new screenshot should be visible in the “Themes” section. If it’s not visible, try refreshing the page or clearing the cache.
It’s important to note that WordPress uses the wp_get_theme() function to retrieve the screenshot for a theme. This means that the screenshot file must be named “screenshot.png” and placed in the root directory of the child theme folder for it to be recognized.
I share my Learnings & Case studies via email.
Subscribe to Stay Updated
Conclusion
In conclusion, changing the theme screenshot in WordPress using child themes is a straightforward process that anyone can follow. By creating a child theme and uploading a new screenshot, users can customize their WordPress site to their liking.
Frequently Asked Questions
Why can’t you directly change the Theme Image rather than creating a Child Theme?
Directly changing the theme image can lead to problems in the future when updating the theme. If you make changes to the theme directly, your modifications will be lost when the theme is updated. Therefore, it is best to use a child theme to make modifications to the theme’s appearance, including the theme screenshot.
Can I change the theme screenshot without using a child theme?
Yes, it is possible to change the theme screenshot without using a child theme. However, it is not recommended. If you directly modify the theme screenshot, your changes will be lost when the theme is updated. Therefore, it is best to use a child theme to make modifications to the theme’s appearance.
What Size of Image is Required for Custom Theme Image in WordPress?
To change the theme screenshot using a child theme, you need to create a new screenshot image and save it in the child theme directory. The image should be named “screenshot.png” and should be a PNG file with a resolution of 1200×900 pixels.
Can you use any image for the WordPress Theme Screenshot?
You can use any image for the theme screenshot as long as it meets the following requirements:
1. The image must be a PNG or JPEG file.
2. The image must have a resolution of 1200×900 pixels.
3. The image must be named “screenshot.png”.
4. The image must be saved in the child theme directory.
